
How to Start Your Squarespace Website
When I built my first Squarespace site, I thought it would be hard. I thought I needed to know design or code. But once I started, I realized the platform does most of the heavy lifting. The lesson I learned is simple. You do not need perfection. You only need a clear plan and small steps. When you follow a simple flow, your site comes together faster than you expect.
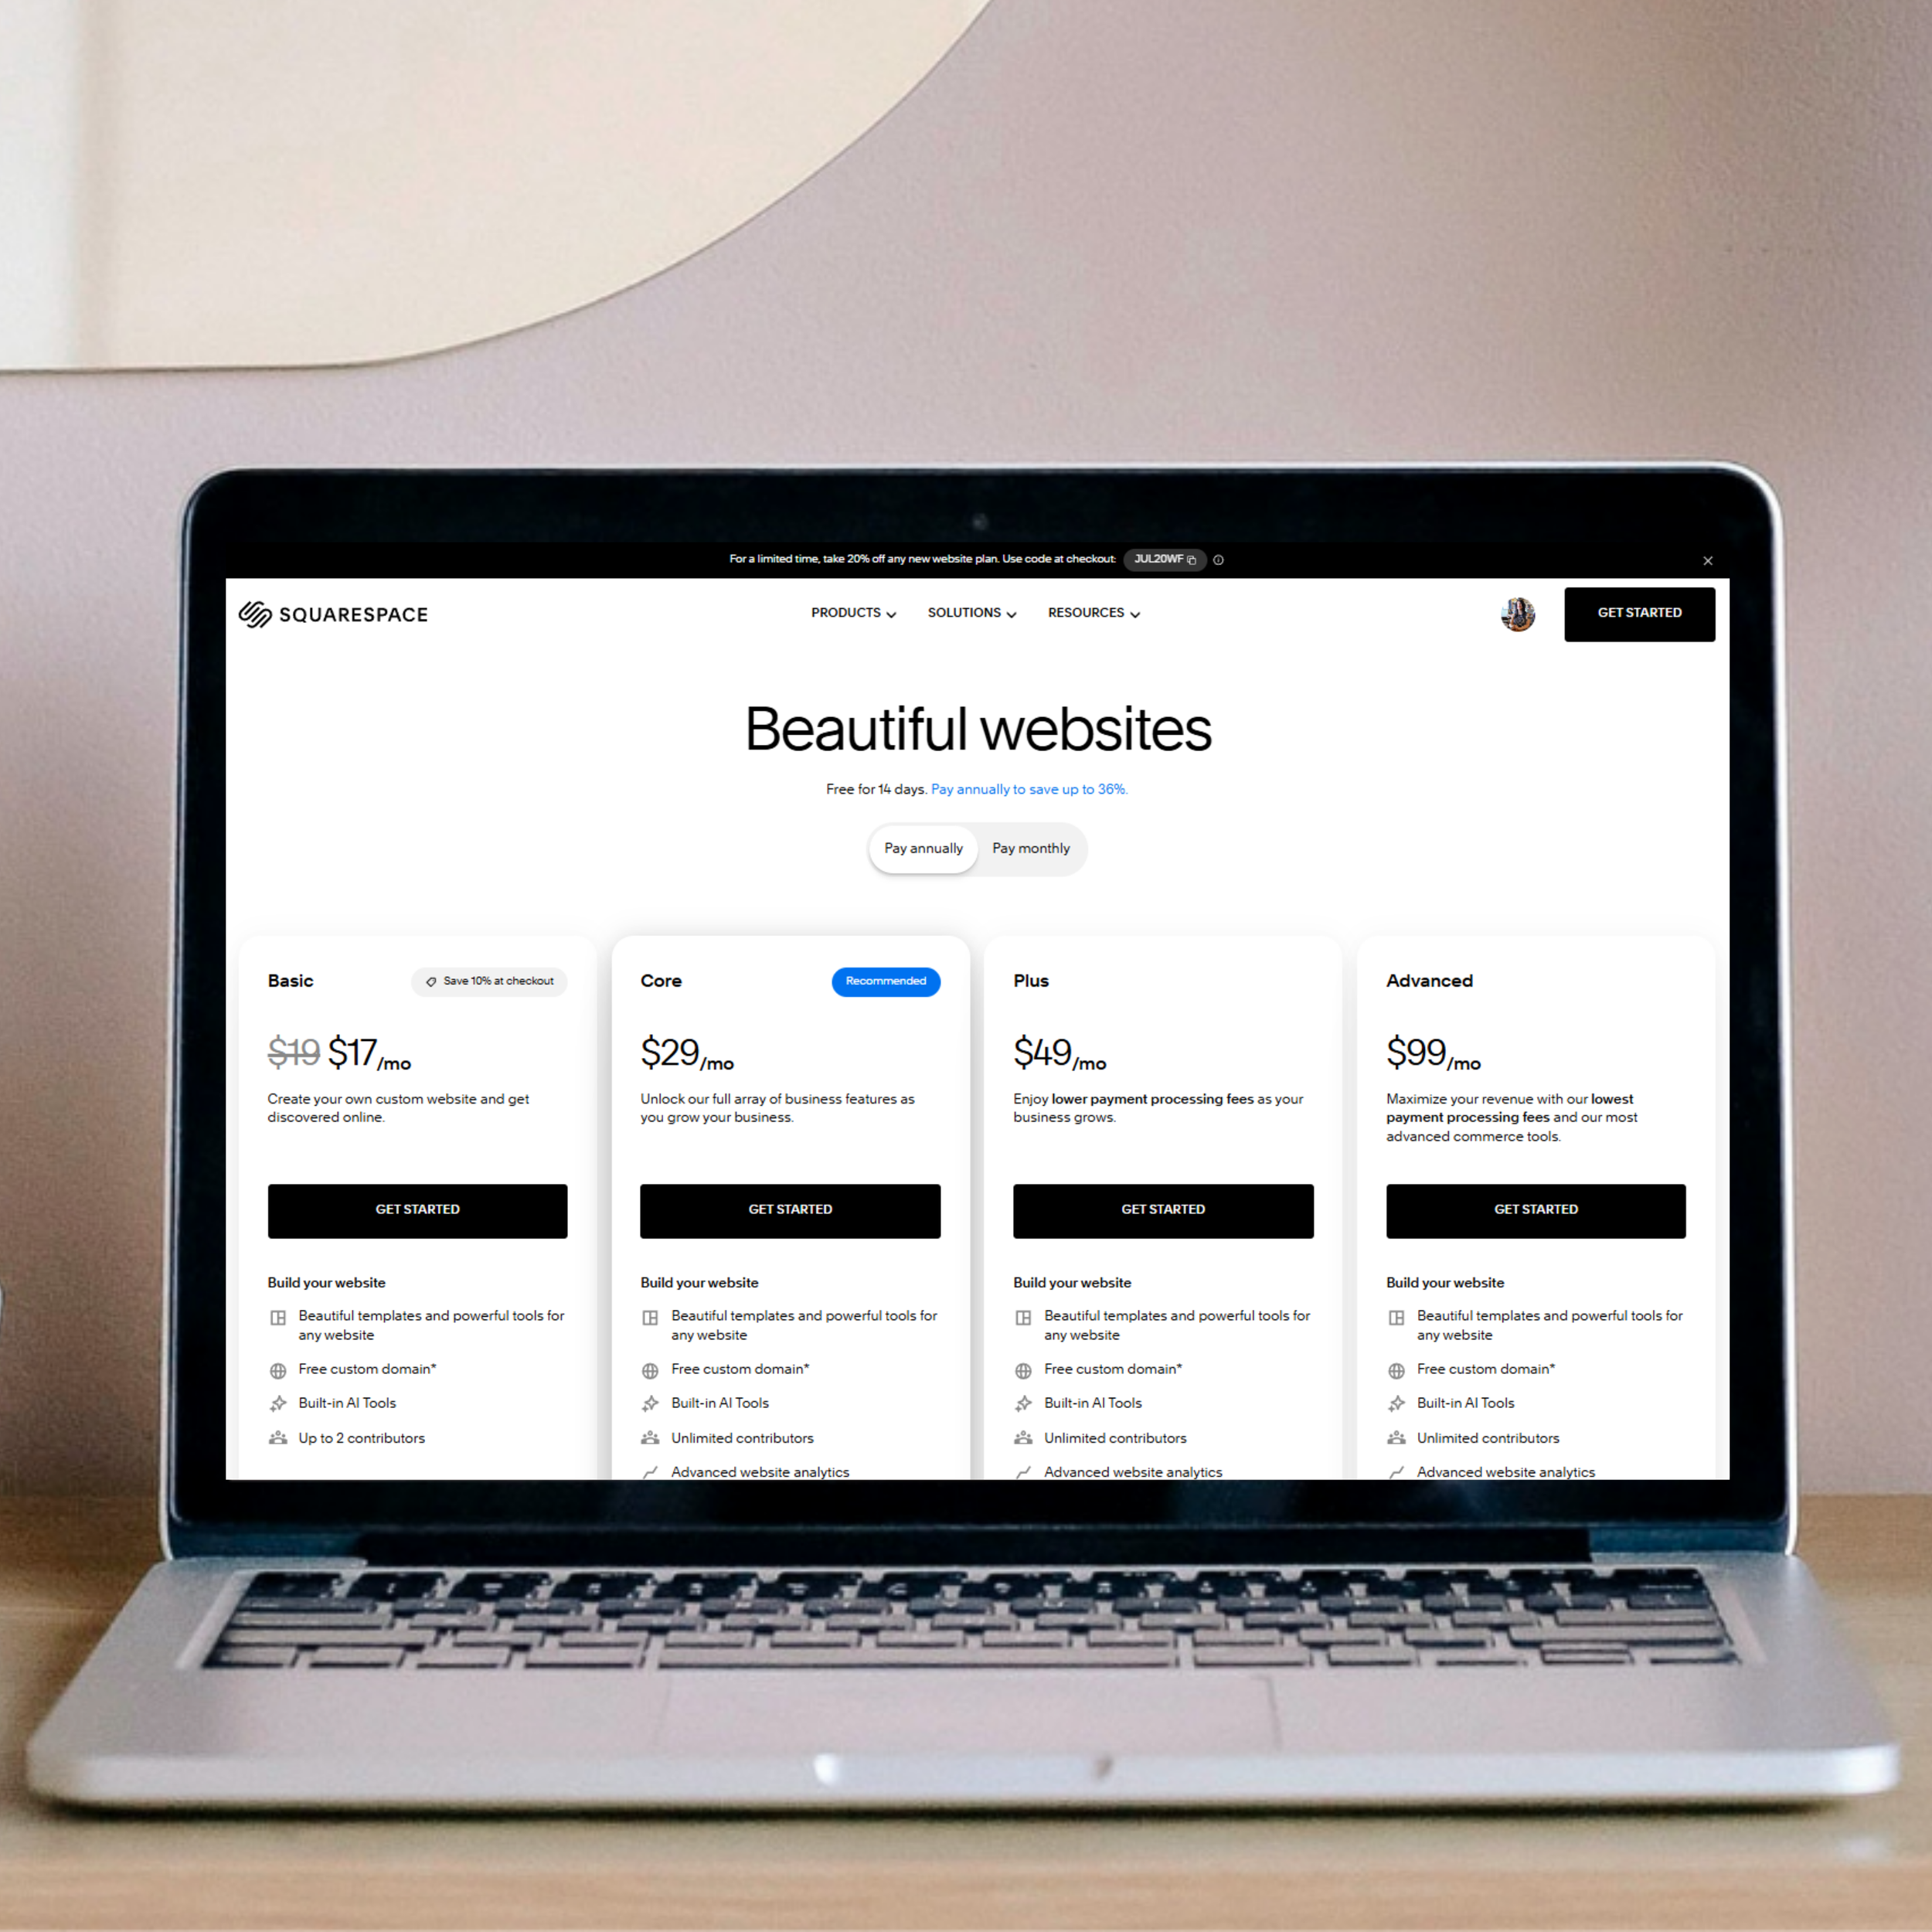
Step 1 Start your free trial
Go to squarespace.com and start your free trial. You do not have to pay. You can click around and learn the tools. When I made my first site, I spent ten minutes just opening buttons to see what they did. That small step made the whole thing feel easier.
Step 2 Choose a template based on structure

Go to squarespace.com/templates and pick a layout that fits your content. Do not worry about colors or photos yet. You can change those later. Right now you only need a layout that feels simple and easy to follow.
Pro Tip: Choose a template that makes your content easy to skim. If you can picture your homepage, services, and contact sections fitting naturally into the layout, that template will support your design instead of fighting it.
Step 3 Create a simple wireframe
Before you build, make a quick list of your pages. This helps you stay organized and keeps you from getting lost.
Home
This page welcomes people. It tells them who you are and what you do in a simple way.
About
This page shares your story. It helps people trust you.
Services
This page explains what you offer. Keep it short and clear.
Contact
This page gives people a way to reach you.
Testimonials or Portfolio
This page shows proof of your work. It helps people feel confident choosing you.
A wireframe is like a simple map. It keeps you on track.
Step 4 Add your pages inside Squarespace
Click Pages and add each page from your list. Squarespace gives you ready made layouts for banners, grids, galleries, and buttons. These layouts help you build fast without needing design skills.
Step 5 Add your branding
Upload your logo. Pick your colors. Choose your fonts. This makes your site feel like your brand. Even simple branding makes your site look more professional.
Step 6 Add real content
Write short, clear sentences. Add photos that feel real. Keep your paragraphs small. Your content is what people connect with. One time a client told me she booked because she liked one simple sentence on the site. Clear words matter.
Step 7 Check mobile view
Tap the mobile preview. Make sure your text is easy to read and your buttons are easy to tap. Most people use their phones, so this step is important.
Step 8 Add basic SEO settings
Go to Page Settings and fill in:
Page Title
This tells Google what the page is about.
Page Description
This gives a short summary for search engines and visitors.
Clean URL
This makes your link simple and easy to read.
Squarespace makes this very easy.
Step 9 Connect your domain
Connecting your domain is the moment your website starts to feel real. It’s the part where your site gets its official name and becomes something people can actually type into their browser. You have two options, and both are simple.
Option 1 Buy a domain through Squarespace
This is the easiest path because Squarespace handles everything for you. You search for the name you want, choose it, and Squarespace connects it to your site automatically. No settings. No extra steps. No tech stress. It’s the one click version of getting a domain.
How it works:
Go to Settings
Click Domains
Search for the name you want
Buy it
Squarespace connects it instantly
Your site goes live on your new domain as soon as you publish.
Option 2 Connect a domain you already own
If you bought your domain somewhere else, like GoDaddy or Namecheap, you can still use it. You’ll connect it to Squarespace by updating your DNS settings. Squarespace gives you the exact records to copy and paste, and once you add them, your domain points to your Squarespace site.
How it works:
Go to Settings
Click Domains
Choose Use a domain I own
Enter your domain
Squarespace shows you the DNS records
Copy and paste them into your domain provider
Wait for the connection to update
It usually takes a few minutes, but sometimes up to 24 hours.
Option 3 Transfer your domain into Squarespace
If you want everything in one place, you can move your domain from your current provider into Squarespace. This keeps billing, settings, and management all in your Squarespace dashboard. It’s optional, but it makes things easier long term.
How it works:
Unlock your domain at your current provider
Get your transfer code
Enter it into Squarespace
Approve the transfer
Wait for it to complete
Once it’s done, Squarespace manages everything for you.
Pro Tip
Before you buy your domain, wait for Squarespace to post one of their weekly domain discounts. They run promotions often, and you can usually save a little by grabbing your domain during one of those sales.
Step 10 Publish your website
Hit Publish. Your site is live. Time to celebrate because you just built something real!
You learned how Squarespace works, how SEO functions, how to choose a template, build your pages, add your branding, write your content, check mobile, set up SEO, and publish with confidence. You can absolutely do this, and your website does not need to be perfect to be powerful.
If you want help planning your Squarespace website or choosing the right template for your brand, you can book a call, explore my services, or read another blog that walks you through the next step. I’m here to make this easier for you.
Catch up on All My Blogging Related Blog Posts Here.
You’ll Also Love




Hello, world! I’m Lourin. I’m a Kansas City mama, creative, and website designer who loves helping small businesses and community leaders show up with clarity and confidence. Here on the blog you can read about my favorite things, like small business growth, simple website tips, community stories, and the behind‑the‑scenes of building a life and business I love. So glad you’re here!



Boost Your Squarespace SEO in 48 Hours with Google Search ConsoleQuick guide to connect Google Search Console to Squarespace so you can see your real search keywords fast. See real keyword data, track impressions and clicks, and understand how people find your site. This simple setup helps you improve your SEO fast and make smarter updates over time.